Information
Complete title: Rey Snow White and the Seven Dwarfs cut-outs after Walt Disney
Author: unknown
Illustrations: unknown
Publication Date: 1938
Publishers: Hachette
Country: France
Retail price: FF6.00
Dimensions: 9.85” x 13”
Number of pages: 4
Back to French Books

French paper cut-outs
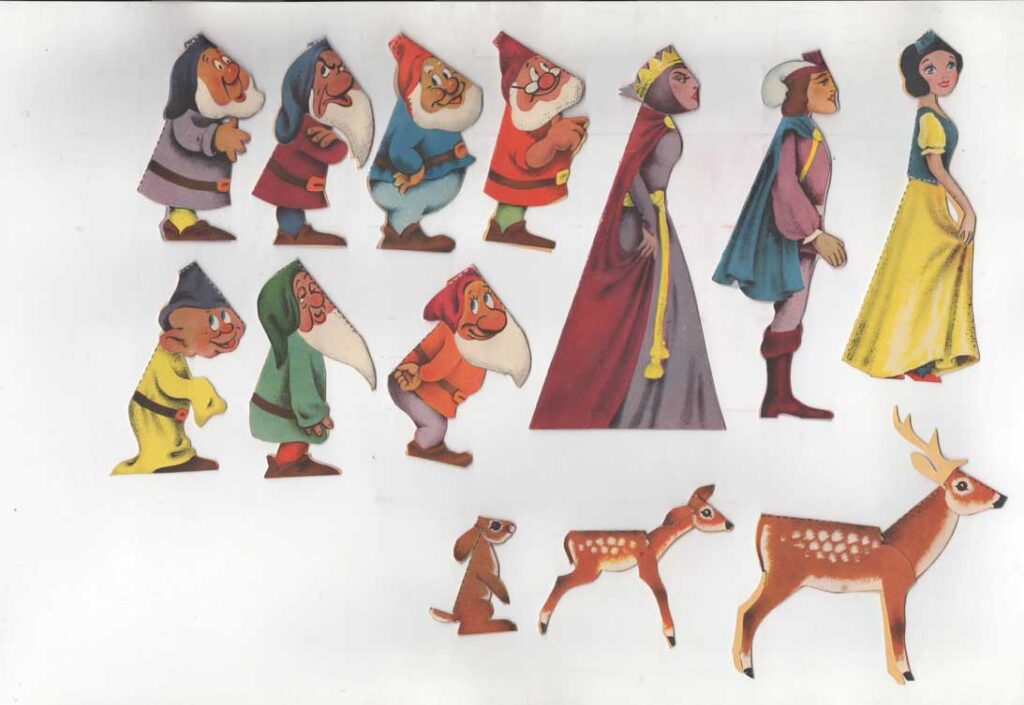
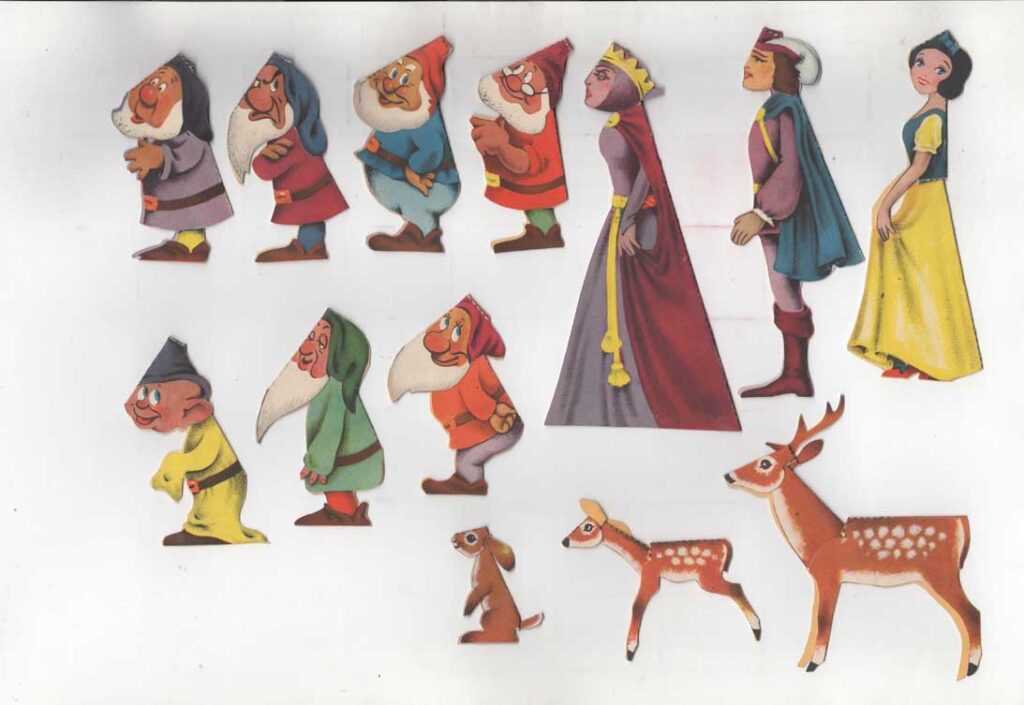
In 1938, Hachette publishes a number of books, but this specific publication, available for FF6 a copy, gives the opportunity to own a paper cut-out of each of the main character of the film, and some of the animals. Hachette’s 1938 Christmas catalogue advertises it, along with other similar titles like “Mickey and his friends” that includes the three little pigs, “Mickey Dompteur”, or other non-Disney titles like “The Circus” or “The Zoo”. The catalogue of the department store Aux Dames de France also includes it.
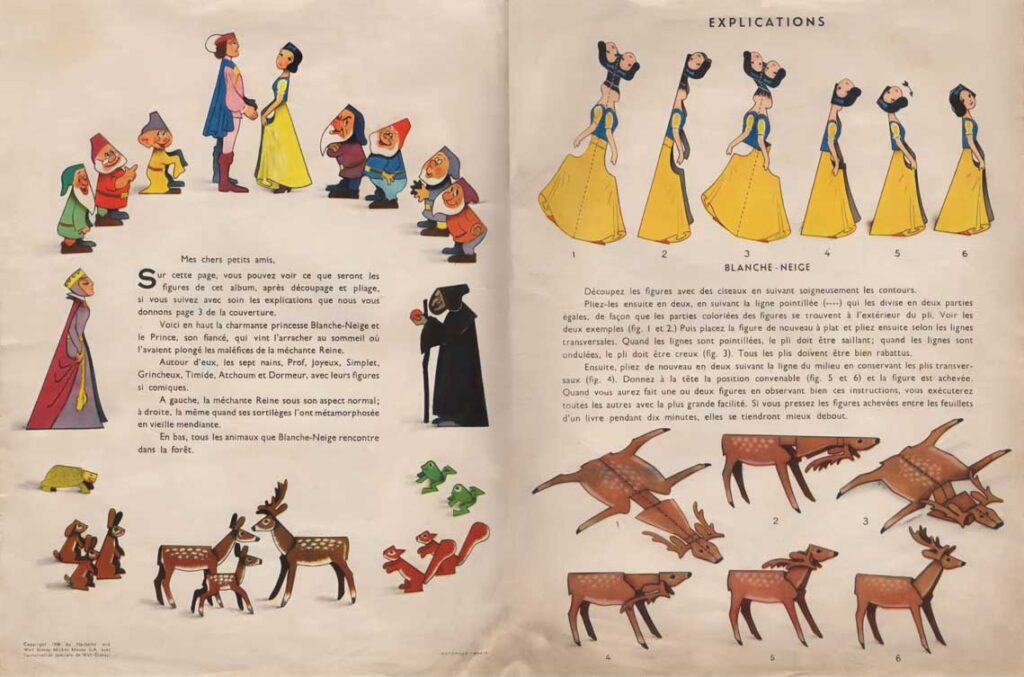
Inside this beautiful blue cover are the instructions with reproductions of the characters found in this folder. Here is a reproduction of the text:
My dear little friends,
On this page, you can see what the figures will look like after cutting and folding, if you carefully follow the instructions we provide on page 3 of the cover.
At the top, we have the charming princess Snow White and the Prince, her fiancé, who came to rescue her from the enchanted sleep caused by the wicked Queen’s spells.
Around them are the seven dwarfs, Doc, Happy, Dopey, Grumpy, Bashful, Sneezy, and Sleepy, with their comical appearances.
On the left is the wicked Queen in her normal appearance; on the right, she is transformed into an old beggar woman through her spells.
At the bottom are all the animals Snow White encounters in the forest.
Instructions
Snow White
Cut out the figures carefully along the edges using scissors.
Then fold them in half along the dotted line (—), which divides them into two equal parts, so that the colored parts of the figures are on the outside of the fold. See the two examples (fig. 1 and 2). Then place the figure flat again and fold it along the transverse lines. When the lines are dotted, the fold should be outward; when the lines are solid, the fold should be inward (fig. 3). All folds should be neatly pressed.
Next, fold them again along the middle line while keeping the transverse folds (fig. 4). Adjust the head to the correct position (fig. 5 and 6), and the figure is complete.
Once you have made one or two figures while carefully observing these instructions, you will be able to complete all the others with great ease. If you press the finished figures between the pages of a book for ten minutes, they will stand up better.


